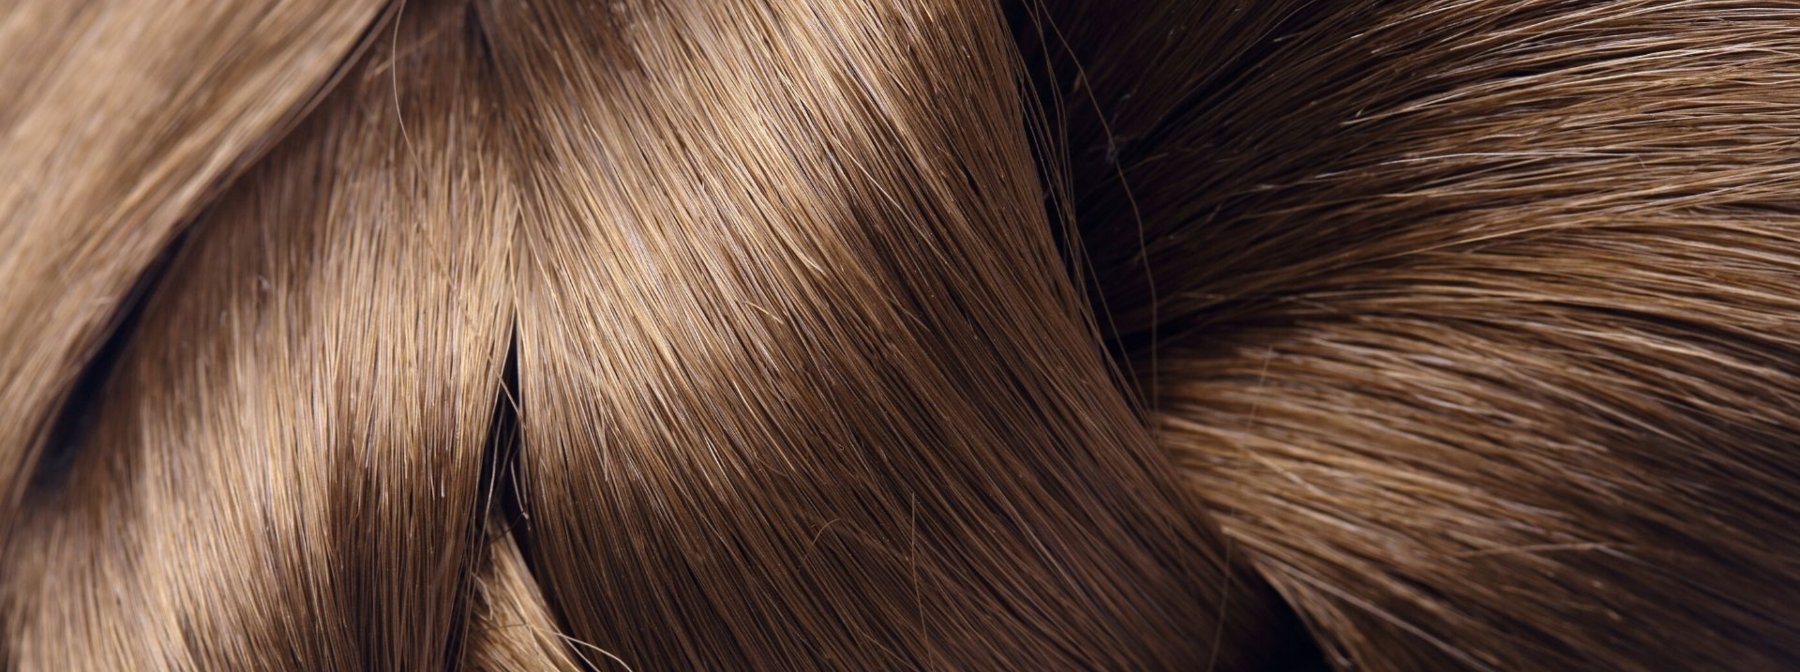
There's something classic yet sexy and beautiful while natural about perfectly straight, oh-so-shiny, sleek hair. When the hair is straight, it reflects light better making it look like a smooth piece of cut glass and giving off a perfectly polished look. But getting the hair straight with nary an ounce of frizz in sight takes work and following the proper steps and using the appropriate products for straightening the hair are critical.
Straight hair complements every haircut, length and type and can be worn year-round. So, if straight hair is what you crave, here's everything you need to know from start to finish—and beyond—to get your hair stick straight sans any damage.
Table of Contents:
- Prepare Your Hair for the Use of Hot Tools
- SkinStore’s Recommended Tools & Hair Care to Straighten Your Hair
- A Step-by-Step Process to Straightening the Hair
- Post-Straightening Care
- Tips for Maintaining Straight Hair and Protect Against Heat Damage
- The Bottom Line
Prepare Your Hair for the Use of Hot Tools
Before you take any heat to your hair, it’s essential to do a quick hair health assessment to make sure your strands can tolerate it. Heat can cause damage to the hair that’s hard to undo, so if your hair bears any of these signs, nurse it back to health before exposing it to additional heat (it probably caused the damage in the first place).
- Split, frayed or broken ends
- Hair that sticks up or out at the root, indicating breakage
- A lack of bounce and movement
- Hair that feels rough, like sandpaper, or crunchy
Related Article: How to Repair & Protect Dry and Damaged Hair
If the hair is in relatively good condition, it's time to prep it so it's well-protected and able to handle the heat you will put on it. For starters, never use heat on sopping wet hair, which increases the risk of damage. Instead, let the hair air dry about 65% of the way.
What you use to wash and condition your hair also impacts its health. Thick, curly hair should avoid shampoos that lather and instead stick with sulfate-free shampoos, which are less drying. An anti-frizz or smoothing shampoo is also worth investing in since it will hydrate the hair and help the cuticle to lay more smoothly for fewer flyaways. All hair types benefit from a hydrating conditioner (comb it through the hair while still in the shower), but heavier, oil-based ones are better suited for thick, dry and damaged hair, whereas thin and fine hair should stick with lightweight conditioners that won't weight the hair down. It's important to always start with clean, conditioned hair, providing a good base for straightening the hair.
Once you step out of the shower, avoid wrapping your hair up on top of your head with a towel. Instead, opt for a microfiber one to absorb excess moisture.
SkinStore’s Recommended Tools & Hair Care to Straighten Your Hair
Hair Straighteners 101
Flat irons, a.k.a. hair straighteners, are not all created equal. A few different types of materials are used within the plates, each serving a unique purpose. Flat irons with ceramic plates provide consistent heat, making them gentler on the hair and ideal for fine and normal hair types, but they usually don't give enough of a smoothing effect on thicker, more curly hair. To straighten every curl and kink out of curly hair, look for a flat iron with titanium or even gold plates that heat up the fastest. Some irons contain plates that combine the two to work on most hair types, and others are infused with tourmaline, giving the hair an extra shine and polishing effect.
You'll also want to consider the width and shape of the iron. Irons with rounded edges provide more versatility and allow straightened locks and waves, whereas an iron with a flat or sharp edge only creates straight hair. With wider plates, more hair fits in the straightener, making them ideal for long or thick hair. Smaller, thinner plates disperse less heat, so they are better for damaged or shorter hair.
Heat Protectant
It's a hair-styling no-no to take heat to the hair without using a heat protectant. Whether you use a spray or serum-based heat protectant, they shield hair from heat damage. The high heat on flat ions can cause extreme damage if the hair is left naked and unprotected.
A good heat protectant will safeguard the hair without weighing it down or leaving it looking greasy or gummy. The heat protection seals in moisture, so it's essential to use it on damp or dry hair, preventing it from becoming too dry and then damaged. Keep the product off the roots, which can make them look oily.
A Comb or Brush
You'll need a wide-tooth comb or a flat or paddle brush to help guide the hair through the iron and create sections within the hair. A comb or brush is also helpful to have on hand to detangle the hair as it makes its way through the iron.
A Step-by-Step Process to Straightening the Hair
To get smooth, sleek, straight strands, you'll want to follow this two-prong approach to hair straightening, which consists of first blow drying the hair with a round brush followed by using a straightening iron to refine the results.
Blow-Drying
There's a real science to getting a good blowout that renders the hair smooth and straight. While it may seem as simple as applying heat to the hair and brushing it, a lot more goes into achieving a good blowout that leaves the hair straight.
- On freshly washed hair, gently comb out the hair to release any knots or tangles. Work your way up from the ends to the root, which causes less breakage than going from the root down. You can spray on a leave-in conditioner or a detangler if necessary.
- Create your part, if you wear one.
- Apply a dime-sized amount of straightening or blow-dry cream from the mid-shaft down. This will help create a smoothing effect so that the hair appears straighter.
- Next, spray on a heat protectant, making sure to avoid the roots.
- Turn your blow dryer on and set it to medium heat. Then, rough dry the hair with the dryer set on a high speed. Focus on the root by lifting the hair with your fingers for added volume. The blow dryer should always point down to prevent frizz.
- Once the hair is almost dry, divide it into three sections, twist them, and clip each section back, making it easier to straighten the hair. Each section can be as big or small as you want as long as you start with the layer of hair closest to the neck and work your way to the top outer layer. If you have bangs, dry them first or rewet them if you prefer to style them last.
- With your round brush in hand, take a small section of hair and wrap it taut around the brush. Keep tension on the hair as you point the dryer down and toward the ends to control the airflow. You can continue moving the brush up and down the hair or wrap it and place the dryer close to the hair.
- Once the section is dry, seal the cuticle with a quick blast of cold air. Then, move on to the next section and repeat.
- When the hair is completely dry and styled, apply a drop or two of shine serum and a few sprays of hairspray to hold your hair in place.
Flat Ironing
Once the hair is blow-dried, it's time to get it super straight with a straightening iron.
- Spray a tiny bit of a light hold hairspray on the hair before straightening it, which will help keep the hair straighter for longer, especially if it is naturally curly or wavy.
- Set your flat iron to the right temperature for your hair type. Set it between 200 and 300 °F for fine and damaged hair, 300 and 350 °F for normal hair and 350 to 400 °F for thick, coarse or frizzy hair.
- Section the hair into layers in the same manner as for blow drying. Then, with a fine-tooth comb, feed the root of the hair into the iron and hold the comb at the top, helping to guide it. The comb should act like a lead for the hair so that every strand is straightened. You’ll have to go over each section with a few passes to get it perfectly straight.
- Once you straighten an entire section, comb it and repeat the steps with the next layer. The last section you’ll straighten is the top layer of hair.
Post-Straightening Care
Apply a Serum or Oil
To add shine and further smooth the hair apply a lightweight shine serum or oil (just to the ends). You can also use an anti-frizz cream or serum to help keep frizz to a minimum.
Lock in Your Style
Once you've achieved ultimate straightness, it's time to lock it in, particularly if your hair is on the wavy, curly or frizzy side. Any exposure to humidity can cause the just-straightened strands to take on a mind of their own and begin to curl up and frizz out. To prevent that, spray on a light layer of a lightweight, flexible hold hairspray keeping the bottle about three inches from the hair not to overcoat it with the product. You'll also want to avoid wetting the hair or applying products with a high-water content to the hair, which can instigate frizz.
Finishing products like shine serums and sheer creams can also help maintain a sleek, straight style. Just apply them to the hair once it is fully cooled post-straightening since layering these products onto the hair while it's still warm or hot can cause the hair to dry out.
Tips for Maintaining Straight Hair and Protect Against Heat Damage
Getting your hair straight is one thing; keeping it like that, especially overnight, is another ballgame. To preserve the look of straightened hair and make it last, you’ll want to bypass elastic rubber bands and use silk or satin scrunchies and hair ties, which are less likely to indent straight hair. If you need to sleep with your hair off your face, pull it up into a very loose ponytail and lightly wrap it into place with a silk scrunchie.
Sleeping on a satin or silk pillowcase causes less friction in the hair compared to cotton pillowcases, which means your hair will retain most of its straightness come morning. But if oily spots arise, a few squirts of dry shampoo will sop them up, so you don't have to wash your hair and start the straightening process over again.
Since moisture, water and humidity are the main culprits for turning a straight style curly or frizzy, avoid getting your hair wet at all costs. That means slipping on a shower cap when showering and trying your best (we know it’s hard) not to sweat much at the gym (again, dry shampoo comes in handy here).
Keeping excess heat off the hair is vital to maintaining its health, particularly if you rely on a blow dryer and straightening iron to achieve a straight look. The more heat the hair is exposed to, the more damage and dryness it incurs; chances are, it won't look as good or healthy when you straighten it. On days when you're not styling freshly washed hair with heat, avoid it at all costs. Instead, you can opt for heatless styling options to help keep your hair healthy on the days when you don't straighten it, like wearing a heatless hair wrap to bed for loose, beachy waves come morning, rocking a simple braid or even styling second or third-day hair with a cute barrette, scarf or slipping on a headband. You can apply a conditioning mask to your hair and wrap it into a sleek bun for a style-meets-hair-health look.
The Bottom Line
Getting sleek, straight hair is easier than you may think, but there are many steps and products to incorporate. First and foremost, always consider the current state of your hair; if it is damaged, dry or brittle, work on strengthening it before applying excessive heat to it. From there, only straighten freshly washed hair with a blow dryer, a straightening iron, and plenty of heat protectant. To keep your hair straight and from frizzing up, avoid exposing it to water or moisture, and use a shine serum and lightweight hairspray to lock the style in.
Straight hair flatters all hair types, so whether you wear it straight regularly or save it for a special occasion, it's fun to experiment with something new and different. But at the end of the day, strong, healthy hair that can withstand heat will always look better than damaged hair, regardless of how you wear it.
Shop all flat irons at SkinStore to achieve the perfect straight hair for any hair type.

Related Articles
