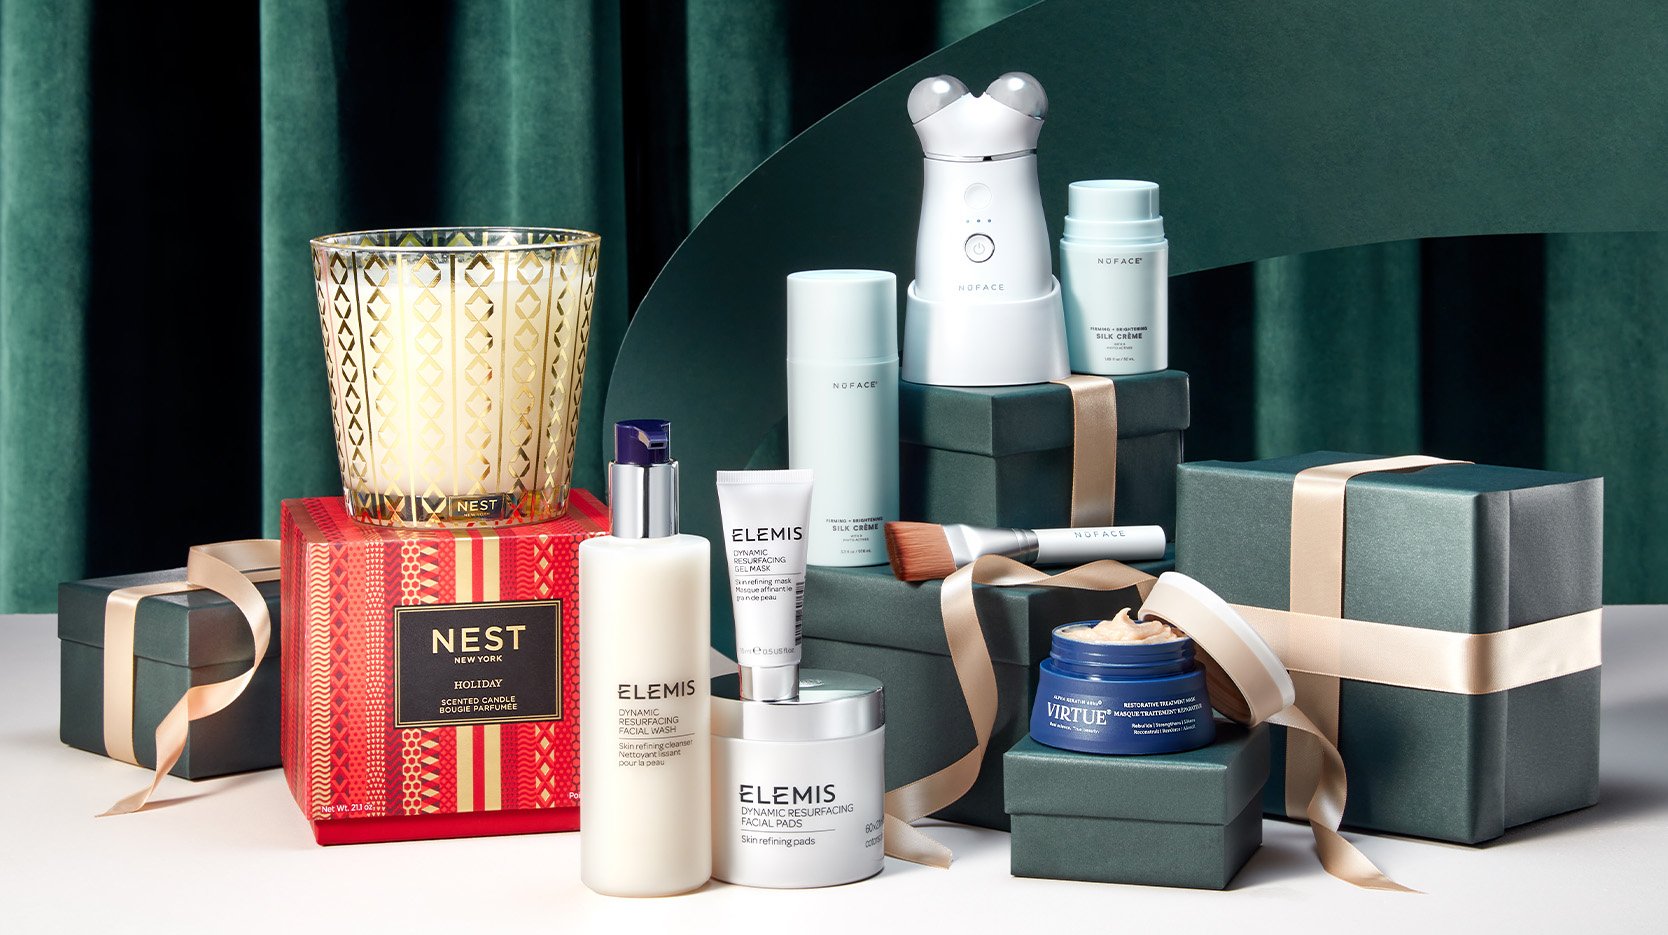
The Gift of Beauty: 2023 Holiday Shopping Guide
Our holiday gift guide contains everything any beauty lover could ever wish for. From skin care treats to the best makeup products – we’ve got it all.
The Ultimate Guide on How to Build a Skincare Routine for Healthy Skin
Here at SkinStore we consider ourselves fanatics when it comes to skincare. Great skin is not just about genetics, but our daily habits. In fact, our skincare routine has a large impact on how we look. But with so many product reviews and opinions, when it comes to our skin care routine, it’s hard to know what to do or how to do it.

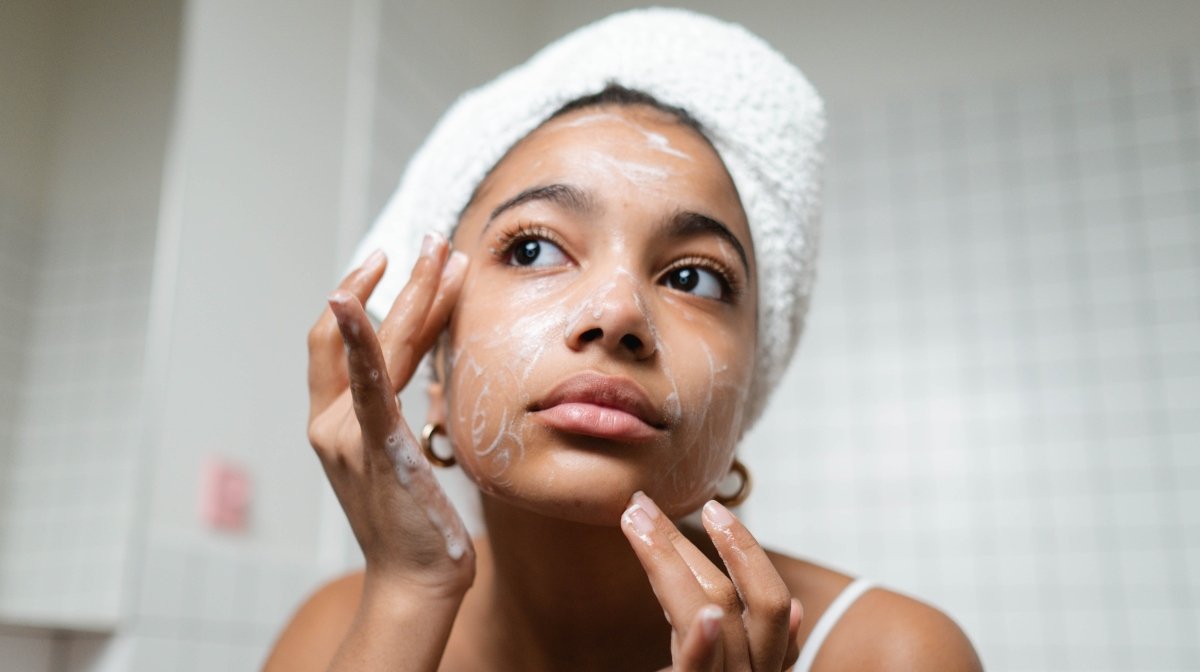
Why Do You Need to Exfoliate Your Skin?
Exfoliation is the removal of the top layer of dead skin cells that can turn our complexions dull and ashy, to reveal the younger, plumper skin cells underneath. Read more on how you can achieve this look and also why you should Exfoliate!
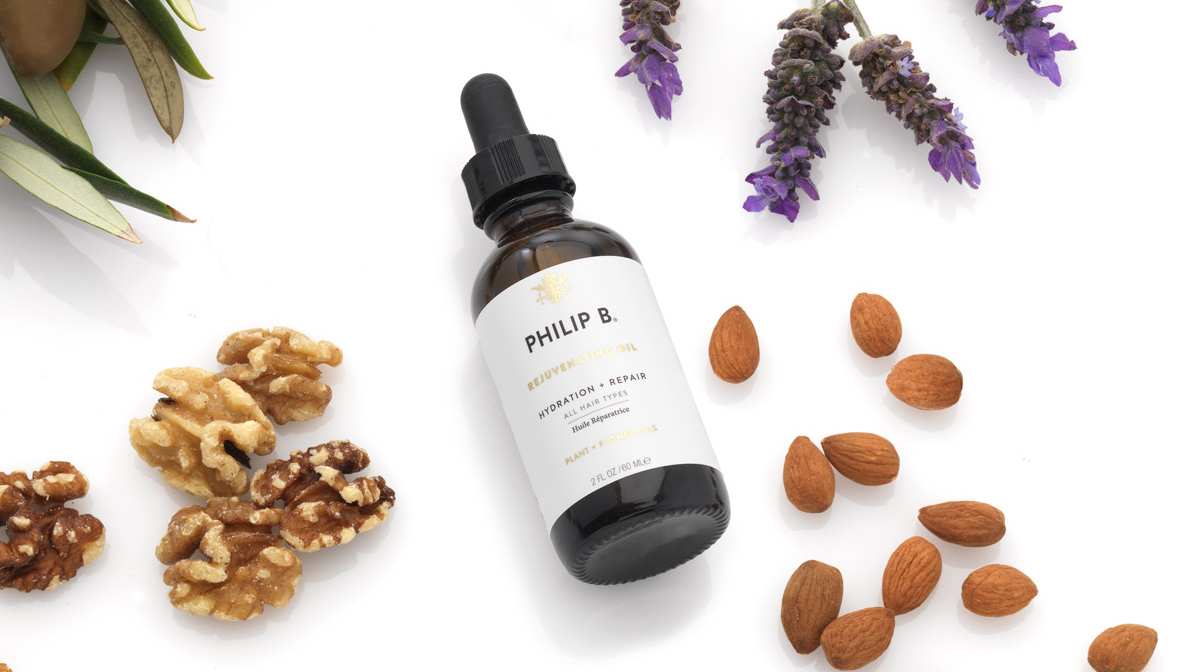
Hair Goals Achieved: SkinStore’s Best Hair Oils Revealed
With many different blends on the market, it can be overwhelming trying to find the best hair oil for you, but our favorites will rejuvenate your locks, leaving them looking healthy, smooth and full of shine.