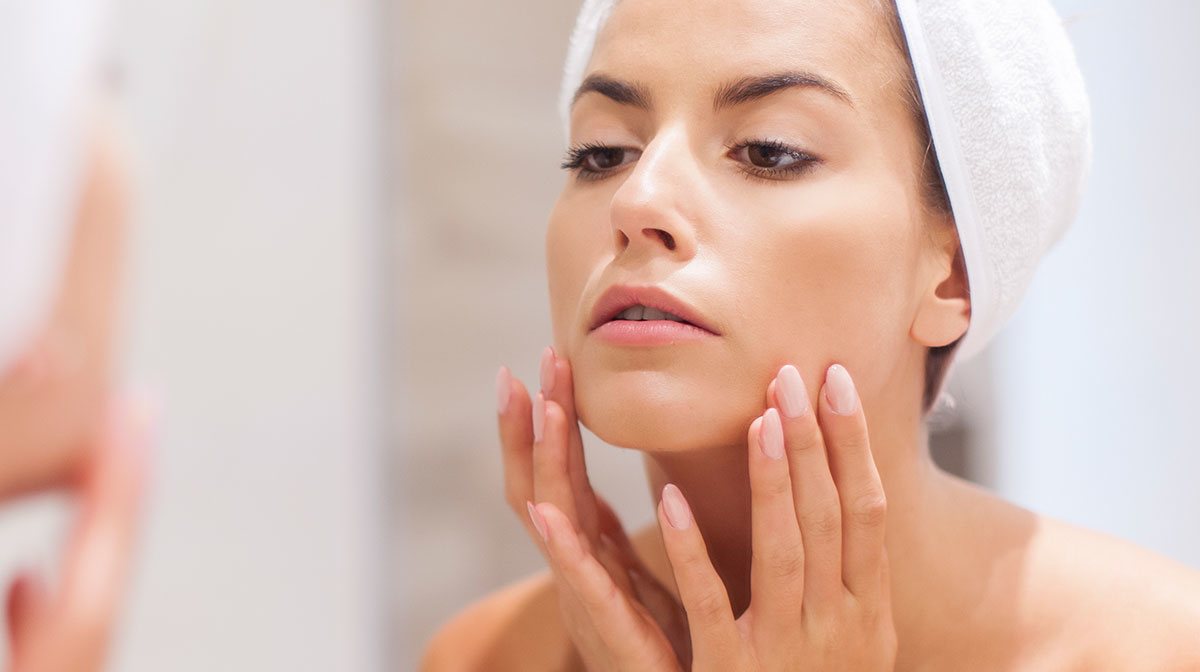
Want a slimmer nose? Sharper, defined cheekbones? Or how about hiding your double chin? Welcome to the world of contouring, which can do all of this, and a whole lot more!
If you suffer from problematic acne, you're probably thinking that contouring may not work for you. But in fact, you couldn't be more wrong, as there are so many products available these days which help to effectively cover acne, allowing the perfect base to contour. The secret to a great contouring base is to develop a smooth, flawless coverage first, so we're going to show you how to do this properly, using the best covering and contouring products out there!
Step 1: Prime Acne prone skin needs the most gentle, non-irritant primer applied to create a calm, smooth and hydrated base. If your skin has lots of redness - which is typical for acne prone skin- its worth using a green colored concealer to fade any redness and angry looking areas. Prime first, let it sink in the skin for a minute, and then dab on any corrective concealers to give yourself the perfect base, all ready for your foundation.
Step 2: Cover Once the skin is primed, go over any additional red areas, spots or acne marks with a full coverage concealer. There's a lot of debate around whether you should conceal before or after your foundation, and it really is up to personal preference. For acne prone skin, we tend to advise to conceal before, so that you are applying your foundation to a clear base. It's also a great time to conceal under your eyes and make sure this area looks bright and fresh, taking attention from any clusters of spots.
When choosing your foundation, bear in mind that not only are you covering acne, but you are creating the base for contouring, so try to chose one which blends in to your natural skin color, and doesn't focus on adding color. Dermablend is one of the best foundations on the market for providing full coverage, yet creating a fresh, even finish. It doesn't dry out the skin or sit heavily into lines, gliding on easily and preventing shine. Plus, its super friendly to the skin, meaning it won't aggravate your acne or clog pores any further.
Step 3: ContourOnce you have your foundation base, it's time to contour! There are a number of ways how to do this, but here is our favorite!
- Suck your cheeks in! Use an angled blusher brush and sweep a sculpting bronzing powder into the now pronounced hollow of your cheekbone. Sweep diagonally towards your ear lobe using firm but light strokes, making sure you blend the bronzer into place.
- To define and soften the profile of your face, work the blusher brush across your jawline. If you are concerned about double chins, sweep the contouring bronzer under the chin to create a slimming shadow. Remeber: any areas you want hiding, add the contour to 'shadow' them away.
- Finally, apply the bronzing powder to each side of the nose to slim and sculpt the width of the bridge.
- Try to use a matte bronzer/powder, as shimmery pigments only accentuate acne and skin bumps.
Now for the highlighting bit! This should be applied above the bronzer, being careful not to overlap the highlighter as that could cause too much heavy layering, which only draws attention to any acne bumps you are covering. So go sheer and light, and think subtle.
- Think about where the sun would naturally fall on your face and using your fingers, pat and blend a cream highlighter into these areas. Start with the centre of your nose, the arch of you brow bone and forehead. Or if you prefer a powder, lightly brush on.
- Aoply a touch of highlighter to the corner of your eyes to give a wide awake look. Another tip is to apply to your cupid’s bow for a fuller lip look.
- Finish by highlighting the top of the cheekbones for the ultimate sculpted model look.
- If you feel you need a little more pop of color, apply a light blush to the apples of your cheeks in a soft rose or peach.
Lastly, ensure you have blended every area and set with a sheer, loose powder to ensure your newly contoured face doesn't budge! For acne sufferers, it's important to use a skin-friendly powder which allows the skin to breath, and doesn't clog up the skin. Again, we can't recommend Dermablend enough for their range of setting powders, along with True Isaac Pressed Powders.

